Additive printing: Small useful hacks
|
Dear all,
I am the lucky owner of a prusa i3mk3s (with multi material unit mmu2s). It is an excellent printer and the prusa staff is kind, helpful and professional. Then again, there are always needs and wishes. Therefore, I spend some time exploring the possibilites of the printer and additive printing in general, sharing some of the experiences at the page you are currently visiting.
The following ideas are primarily mine. However, I share many printing thoughts and experiences with Mikael Djurfeldt and owe him much. One day we will collect our knowledge at a common site. Until then, please read on.
Currently, you can find the following on this page:
Temperature correction (Last updated 03 march, 2018):
print multi-material objects (eg PLA+PETG, XT+BVOH), print reliably in PLA, print at higher temperatures than mmu2 settings
Vase mode mixer:
print more complex objects fast, partly print in vase mode
Gcode for temperature evaluation:
print this to see eg color changes wrt temperature for certain woodfills
brass fill:
print ColorFABBs brass fill in MMU prints
|
|
Temperature correction
|
|
Motivation for using this code:
When I mix materials, eg PLA and PETG, the code generated by slic3rPE does not result in reliable prints. The filament gets trapped just before entering the idler/extruder, the filament interlocks itself by a thin thread wrapped along it, FINDA (the steel-ball-PINDA at the MMU) gets totally filled with fluff rendering empty layers (the worst scenario as it ruins the print). Furthermore, the wipe tower will be all bushy, merely falling apart.
We should also note the following: poor wiping means that there will remain a material blend in the extruder for a long time. This can clearly be observed if printing a combination of white PLA and XT-CF20 (carbon fibre). The mix has several disadvantages: Not only will the color be incorrect, but it will weaken the material considerably (if using PVA/BVOH without proper wiping, the object will become completely useless), and there will be very long thin threads (eg PLA+PETG mix) of filament clogging the FINDA, idler and others. In several ways, the clogging will fool the printer into trying to print without the filament properly loaded (I sent a hardware solution suggestion to Prusa wrt this, hopefully they will add that, it would be such a relief).
What Ihe code does, is it modifies when and where the temperature changes occur in the gcode. The result is astonishing: the wipe tower will hold together, the prints will print, the amount of wipe can - to some extent - be lowered, especially when changing between colors of the same material. In short, these are the important changes:
A. The filament should be printed using the same temperatures as the i3 mk3, NOT the lower i3mk3mmu2 temperatures. Some objects cannot even be printed using the lower temperatures.
B. The temperatures will be lowered just before the filament change, that is just before the tip is shaped, which happens just when the wipe tower has been reached. A short pause ensures the temperature has time to change. The M109 (wait for temperature) is NOT used as it takes such a long time to adjust to the exact temperature.
C. Directly after the new filament has been loaded, the temperature is restored, a short wait is applied and then the NEW filament temperature is set. IMMEDIATELY wiping begins. This means, wiping will be performed under a temperature gradient (this could be controlled more precisely, but for me, this is good enough). This implies that the wiping will be performed at the "correct" temperature (esp. it is generally too low in slic3rs original gcodes) giving a nice wipe tower and clean extruder.
D. At the end of wipe tower, fan and temperatures are set once again (a bit of old code). This could have been coded in a nicer manner, but it's experimantal code, that's why.
E. Under some circumstances, slic3r "forgets" the first temperature change, which the code is supposed to correct (I hope it does).
|
slic3rPE: Correct temperature settings in gcodes (python script):
korrigera_gcode_temperaturer.py
Options: input.gcode correctedoutput.gcode
However, please also consider to set cooling moves = 3 even for PLA (thanks, Mikael, for this) as this considerably reduces MMU errrrrors (it will increase print time, however, with less "MMU needs attention" it is worth it according to myself)
|
Vase mode mixer
|
|
Motivation for using this code:
Vase mode is fast and gives pretty results. Using post processing (eg MaxClr epoxy), sometimes such prints can even become useful.
However, as Z varies continuously, it is impossible to print objects including more horizontal structrures, as the printer will print
next "layer" directly in the air.
What I do, is to slice the same object twice using slic3r, first a regular object with a working structure for the horizontal parts.
Then I slice the same object in vase mode. Input to the vase mode mixer are these two gcodes, and a list (interactive input) of the heights
when to switch between the two ways of slicing. The result is a gcode using vase mode for the vertical parts and normal mode for the areas needing such structures.
Please note, that as vase mode does not contain any support, it's useless to have surface dependent support, with two exceptions: when the first printed part is printed in "normal" mode, and when the support is locally supported itself.
|
slic3rPE: Mix two gcodes into a fast print with possible horizontal structures (python script):
vasemodemixer.py
Input options: normalinput.gcode vasemodeinput.gcode
Result: saves "resultat.gcode" as output
|
>Gcode for temperature evaluation
|
|
Motivation for using this code:
Some woodfills are advertised to change color with temperature. Some materials prints worse when printed too cold or hot. The actual nozzle (and bed btw) temperatures measured with external probes varies around 10 degrees celsius with my mk3 as compared to the internal display. Therefore, I have my own temperature settings.
|
A gcode for prusa i3mk3 (works with mmu2):
temperature gcode
Result: prints a small object in temperatures 205_210_215_220_230_240 degree celsius (1cm per step).
|
MMU and ColorFABBs brassfill
|
|
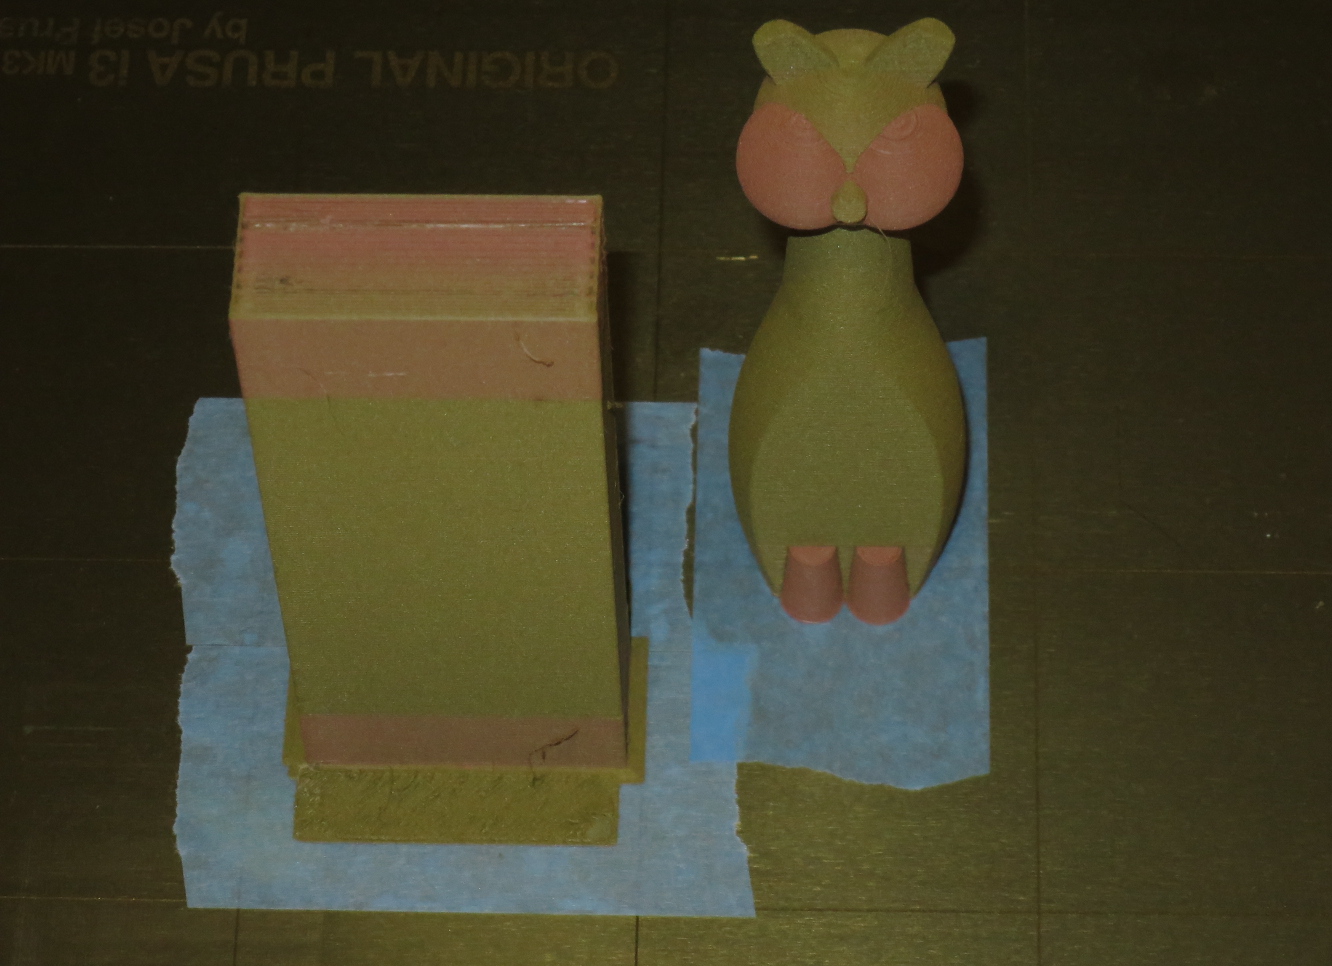
ColorFABBs brassfill is one of my absolute favourites. It's also an example of a very fragile, frustrating and challenging material. It breaks for no reason, it gets stuck in PTFE tubes, it sticks like hot porridge to the plate and leaves marks if carelessly removed. This is a set of ideas only, to quickly get into MMU prints using very fragile materials, such as brassfill.
A. Replace the original PTFE-tube backend from MMU2 with 3mm PTFE stubs. You could take advantage of (but not really needed as a whole here): filament transport system
B. Place the roll with brassfill in a spool holder put directly at the floor next to the printer. Let the filament path be as free as possible. Other filaments (eg copperfill in a MMU print) should follow a regular path in order not to interfere with the brassfill. Don't let anything be in the way for brassfill. You might think it will hold, however, this easily becomes untrue.
C. Loosen the MMU2s adjustable tension as much as you can. Loosen the idler screws as much as you can as well. Still, the MMU will grind the brassfill slightly, and this slight grind means an increased risk of breaking the filament in any bend or at any stress.
D. In slic3rPE (when writing this, I used 1.41.2), set the following parameters (not necessarily all used, but I did like this):
Loading speed at start: 3mm/s
Loading speed: 10mm/2
Unloading speed at the start: 10mm/2
Unloading speed: 10mm/2
Filament load time: 20s
Filament unload time: 20s
E. Use blue tape on the print plate (with my printer, there is no need for z-adjustment because of this).
F. Slice thick (0.2mm) in slic3rPE, you will sand and polish afterwards anyway. Do consider more perimeters (I use 3, sometimes regretting I only use 3), as sanding will need a comfortable thickness.
G. Print using hardened steel nozzle (I use 0.4mm). If brassfill breaks during print, collect the pieces. You can quite easily melt them together later, not during the print! (I use the heated nozzle to melt the tip when joining two pieces by hand. Possibly, I (or you?) should construct a simple device, printed in 3dkTOP to resist the heat. Not done yet).
H. To remove print, carefully slide a thin object under the tape. Remember, brassfill is fragile.
I use: post processing tools
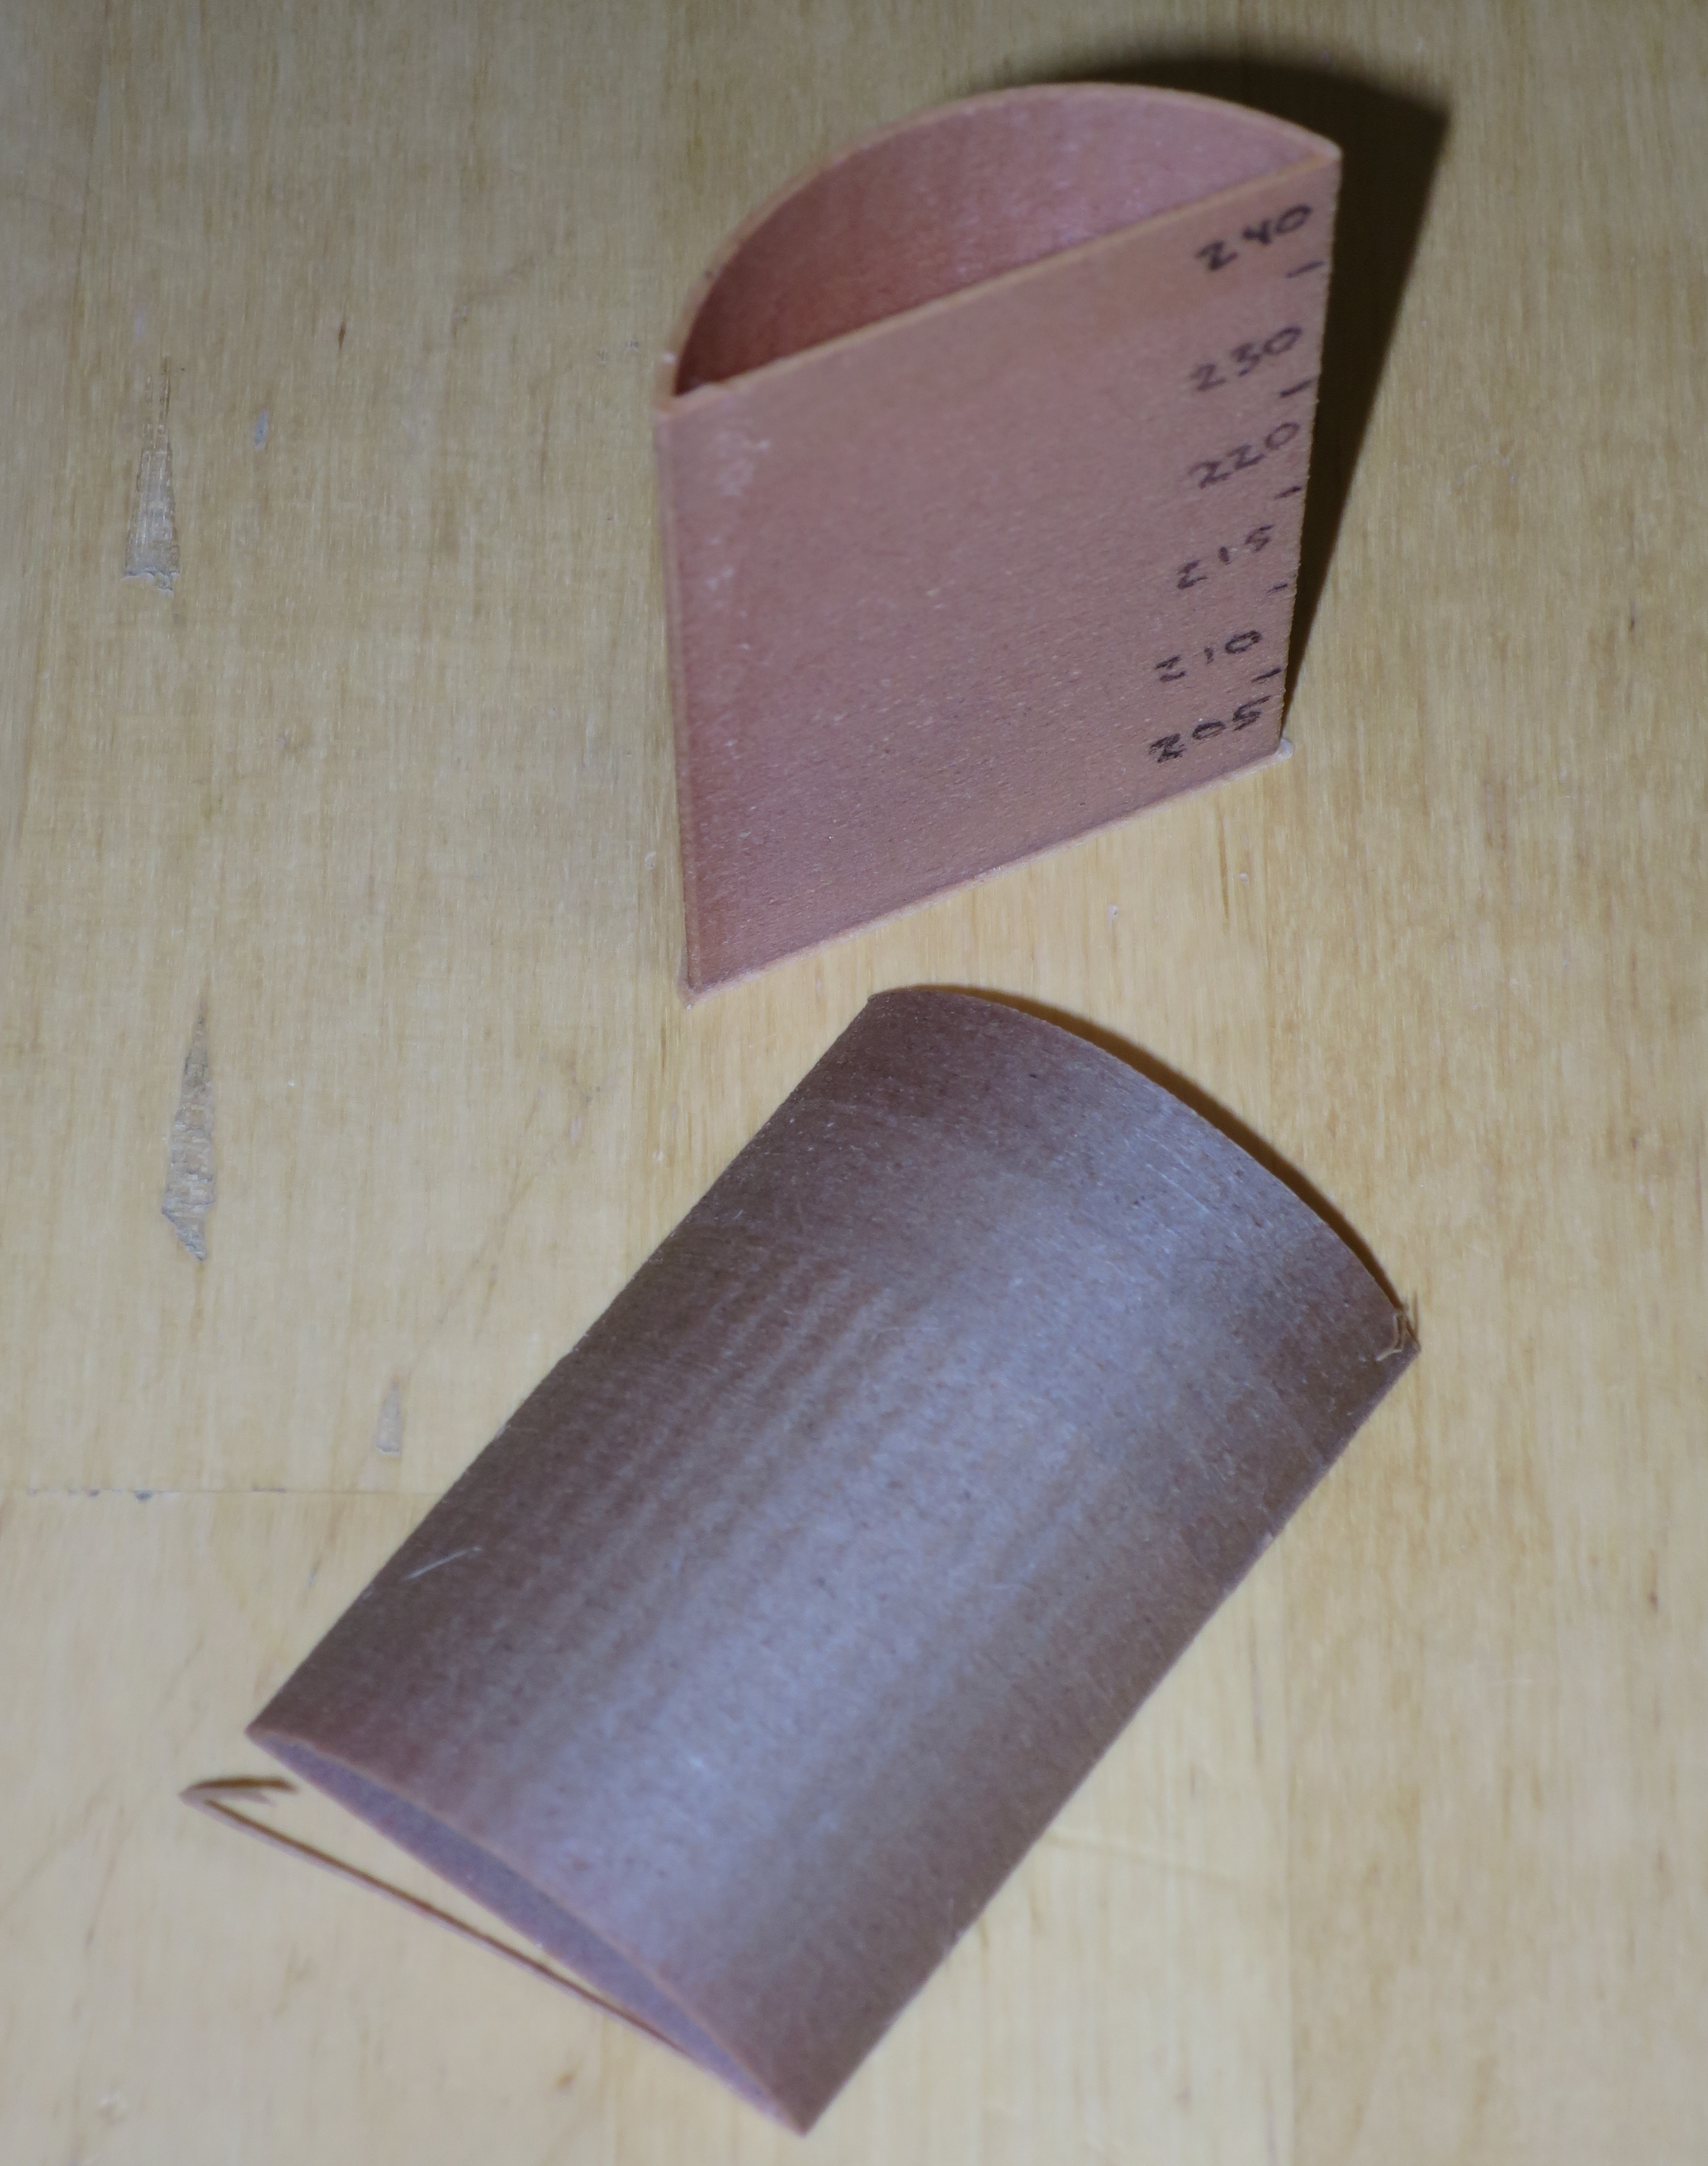
I. Sand grit 40...1200 then polish. Please remember that high speed machine tools are likely to overheat brassfill (PLA base) in an instant, possibly ruining the print.
|
|
|
